Taking your 2D data from a map and throwing it into a 3D scene increases the realism, which can make it easier for the audience to interpret and make the comparison to the real-world equivalent. The Esri Geospatial Cloud has seen an accumulating wealth of 3D capabilities and functions added across the product stack, however in this blog I am going to take things right back to basics. I want to fill you in on how to get started by easily and effectively displaying your data in three-dimensions, and sharing it with its intended audience.
Regardless of whether your data has z-values or not, you can still create a 3D visualisation to help understand how the features sit on the landscape. In this example, I am working with a polygon feature class containing footprints for some fictitious buildings (these could be existing or proposed). In ArcGIS Pro, I can add these to a new global or local scene – the difference being that the former utilises a geographic coordinate system (WGS84) whereas the later uses a local one (e.g. BNG). You may wish to use a local BNG scene if your data is in that projection but be mindful that this adds an extra process to sharing it as a web scene (more later).
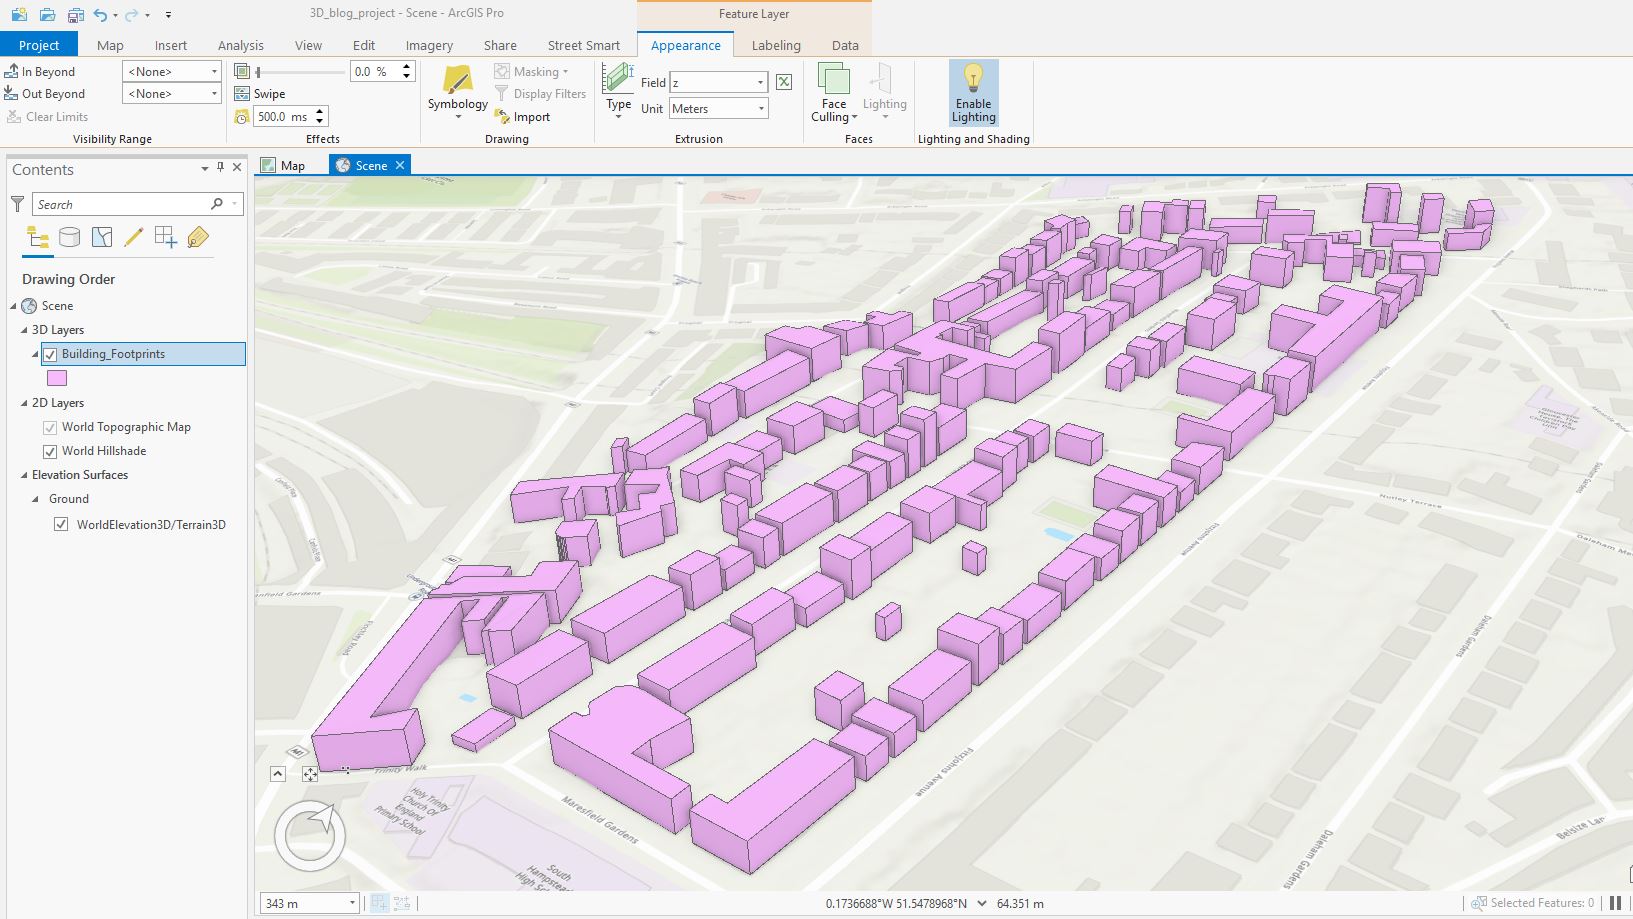
By default, my features will be draped flat on the surface. In order to view my building footprints in three-dimensions I can extrude by an attribute-driven value in the feature layer ribbon (this could even be a static value input in the expression builder if you do not have any height values in your data). At this point, we are still working with a polygon feature class, it’s just that it’s being displayed in three dimensions. With the 3D Analyst extension, we can export this to a multipatch (3D feature class) to save the three-dimensional enclosed mass(es) to file.
We might now want to think about styling, texturing or editing. As with standard 2D features, we can format the symbol to a single colour for all buildings, or colour buildings according to groups or even use graduated colours. Alternatively, we can apply realistic-looking texturing either through the symbology (using the default Esri textures), or applying our own texture using Modify on the Edit tab. This is useful not only for basic textures, but also custom facades – e.g. pictures of a shop exterior taken on your phone or camera. To do this en masse, we might consider applying a procedural rule (created in CityEngine).

It is also possible to make vertex edits to 3D data, allowing for simple extruded ‘block’ models to be crafted and made to look more like their real-life counterparts - here Reshape Vertices is your friend. Editing tools can be used to divide, reshape and construct features in three-dimensions. If you have LiDAR you can use this as a reference to segment a building in a fairly easy manner, here is a nice example (but how’s your Dutch?). You could apply the technique shown here to split a roof in two, then follow the move a face instruction to angle them toward each other to create a gable roof.
As a final touch, if we have an understanding of tree locations, we can use Presets to visualise them. This approach takes points as an input and renders the trees on the fly, in either a realistic or thematic form. The species, height and canopy width can all be input, with the option for the latter two to be attribute-driven (if this data sits within the point layer).
Trees, as well as buildings at a higher level of detail, can be captured using the Local Government 3D Basemaps solution. I’d highly recommend exploring these tools if you are serious about authoring high-quality 3D scenes. Note, these workflows require ArcGIS Pro Advanced with the 3D Analyst and Spatial Analyst extensions - as well as a digital terrain and surface model of 1 meter or better.
Lastly, we can look at sharing this model into a Web Scene in ArcGIS Online or Enterprise through the Share ribbon. The options here allow for an easy export to your Content area, from which you can share with the rest of your organisation or even allow the public to view. If you are working with a high volume of 3D data, it is advised that you first create a 3D Object Scene Layer Package. This will index the dataset to varying levels of detail to optimise performance when viewing through via the web.
If your data is in BNG you will need to create a local web scene which means you won’t be able to leverage Esri’s 3D World Elevation layer. Instead, you will need to create a publish your own elevation service.
Once your 3D Scene is in ArcGIS Online (or Enterprise) you can begin creating engaging applications, using either a template, Story-Maps or Web AppBuilder.