Many organisations use an enterprise identity store such as Microsoft Active Directory with their ArcGIS portals to provide authentication and single-sign-on to ArcGIS. This allows administrators to manage users in one place, and allows staff to log into ArcGIS in the same way they log into other enterprise systems. In the ArcGIS help this is called enterprise logins.
Microsoft produce good documentation describing how to connect ArcGIS Online to Azure AD here. In this blog I show you how I used Azure AD as the identity store for an ArcGIS Enterprise implementation.
The steps are very slightly different from the above link, and in addition I configured my ArcGIS Enterprise system to automatically create users, so I only need to create and manage users in one place. Remember that your ArcGIS Enterprise does not need to be running in Azure in order to use Azure AD (although mine was), and does not need to be public-facing either. In the blog I have assumed you have created your Azure AD directory already.
1. Add ArcGIS Enterprise as an Enterprise Application
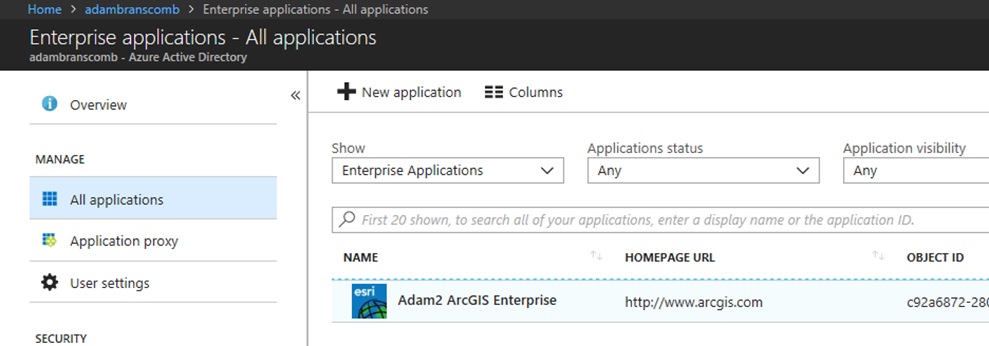
Follow the steps in the Microsoft link to add ArcGIS Online from the gallery as an enterprise application. Even though we will be using ArcGIS Enterprise, this configuration step is the same – we use the ArcGIS Online gallery item. Once you have done this, click on the new application and edit its properties to give it a sensible name identifying your ArcGIS Enterprise install. Ignore the incorrect homepage URL.
2. Configure Azure AD single sign-on
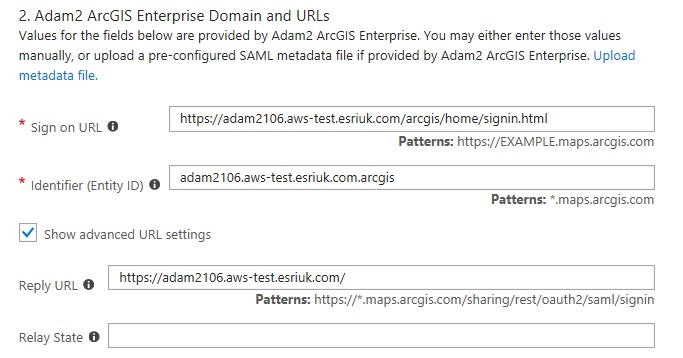
Click in the new enterprise application and click single sign-on. Then wait for the page to fully finish loading (important) before choosing SAML-based Sign-On from the drop down. Enter the following parameters:
The Sign on URL should be the sign-in page URL of your portal, for example https://server.domain.com/arcgis/home/signin.html
The Identifier should be the fully-qualified domain name for the portal followed by its web adaptor name, separated by a full-stop instead of a slash. For example server.domain.com.arcgis
The Reply URL should just be the public portal URL without the web adaptor, for example https://server.domain.com
Leave the Relay State blank. Best to look at my screenshot. If using a load-balancer and/or web context URL adjust your settings accordingly.
On the SAML Signing Certificate section, click Metadata XML and then save the metadata file on your computer. You will need this file in the next step. Click Save to save the configuration.
3. Configure ArcGIS Enterprise with the Azure AD identity provider
In a new browser window, edit the organisational settings of your ArcGIS Enterprise portal. In the Security section, choose Set Identity Provider. This brings up the following dialog.
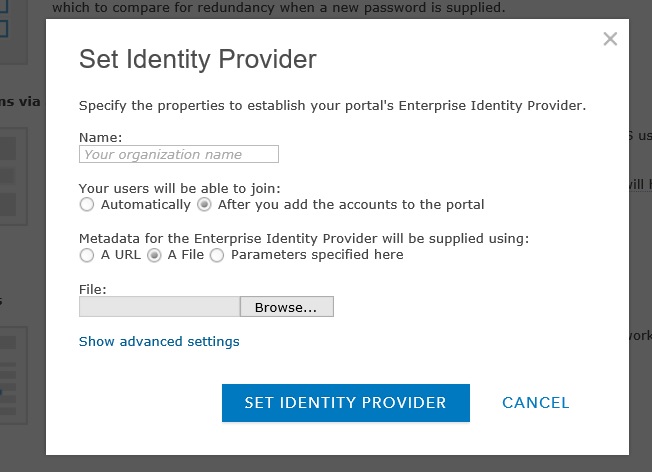
On this dialog, enter your organisation name or similar. This is just the name of your Azure AD domain shown to users during login. For example, entering an organisation name of Adam2 will mean users get asked to “Sign in to ArcGIS Enterprise using Adam2”.
Then choose the radio button to allow your users to join Automatically. This means your users will be able to join automatically on first access to the portal, only once they are assigned access to application in Azure AD. To me this setting makes sense – you can control who has access to ArcGIS Enterprise either individually or by group within Azure AD, and so you don’t need to create accounts in two places.
Choose the file option for the metadata and browse to the file saved in the previous step. At this stage you don’t need to edit the advanced settings so click Set Identity Provider to close the dialog. More information on the advance settings is available in the ArcGIS Enterprise help.
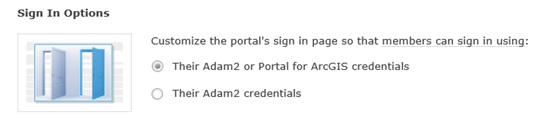
Beneath the identity provider settings is an option to choose whether you still want to allow users to login using built-in Portal users as well as your Azure AD users. Until you are confident you have the configuration working, I recommend leaving this setting as the default, allowing either sign-in option.
Save the portal organisational settings.
4. Set Portal default role
Finally we need to tell Portal what sort of user and role it should assign to people by default at their first login. To do this, follow the normal ArcGIS Enterprise help to set the defaultRoleForUser and the defaultLevelForUser. What you set these to will depend on how your organisation is using ArcGIS Enterprise. You will need a process to allow users to request changes to their role and level according to their needs.
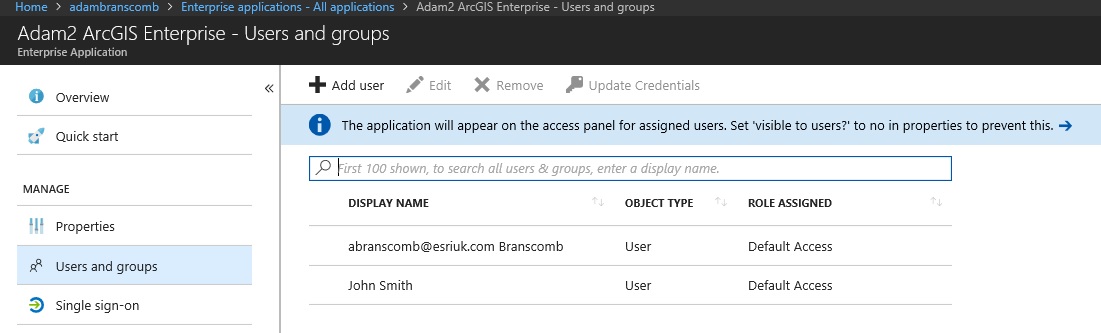
5. Assign users to the application
That’s pretty much it. Now you just need to manage your users. In the Azure portal, click on the enterprise application for your ArcGIS Enterprise, which you created initially. Click Users and Groups. Add appropriate users to the application.
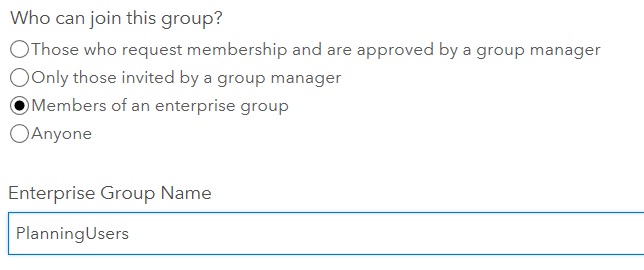
6. Group membership
If you have ArcGIS Enterprise 10.6 or above, you can link group membership within ArcGIS Enterprise to Azure AD groups. This functionality can be incredibly powerful for many organisations, allowing group owners and administrators to easily control what content in the portal a user is authorised to see based on their Azure AD group membership. This is set when creating a group.
![]()