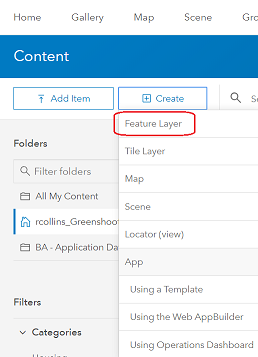
There are three options for creating new feature layers:
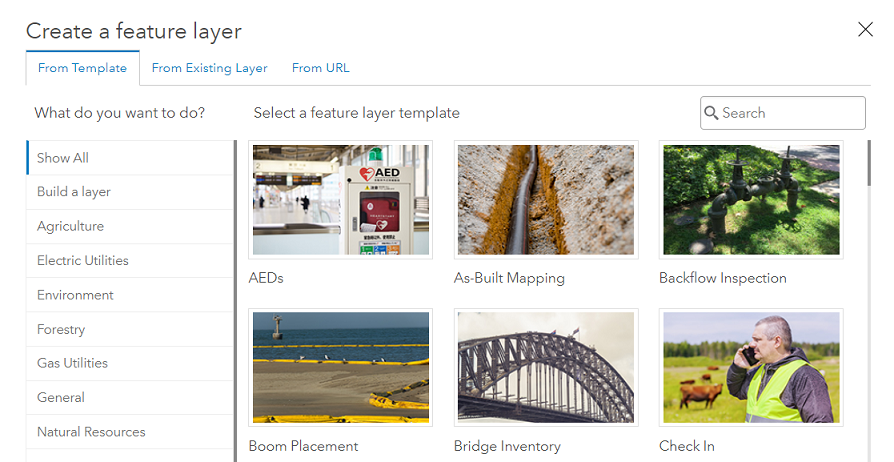
- Use an Esri template to simplify the process. Start from scratch using Build a Layer or with a specific use case template.
- From an existing layer directly - which involves extracting the template from an existing dataset already uploaded onto ArcGIS Online. This can be used to quickly import fields and feature types, e.g using a past data collection layer to setup a repeat survey.
- From an existing AGOL dataset/layer via the URL.
It takes a couple of minutes to run and remember, that for options 2 and 3, the existing layer needs to be using Web Mercator.
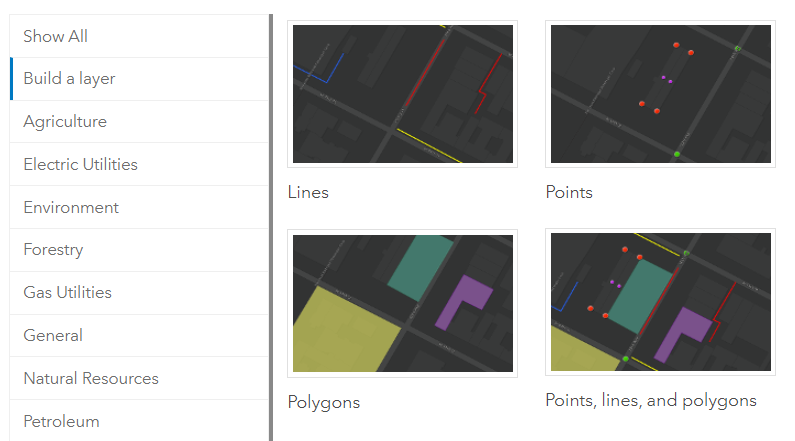
To start from scratch choose the Build A Layer category. There are four options including a single feature layer that can be used to creature points, lines, polygons or a layer with all three:
For all templates, you are given the option to change a variety of layer options. The map extent for the feature layer can also be specified. You are then directed to fill out the title and summary details for display within ArcGIS Online content.
This blog will follow the workflow to create a feature layer for a tree survey using a blank template.
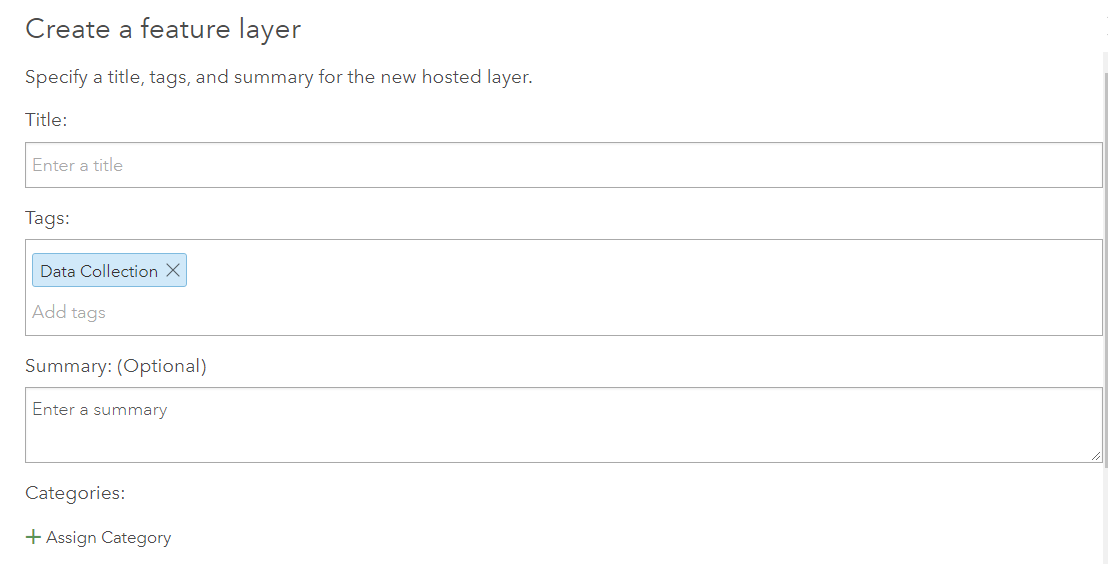

For our tree survey example I will also use the tags ‘activity’ and ‘Forestry’, so that coworkers in my organisation can find the feature layer. These must be added individually for blank templates.
The feature layer will be editable, by default, when it is created within ArcGIS Online. Accessing the content detail for the feature layer lets you update the name, layer description, tags etc. This is useful if a mistake was made when creating the layer.
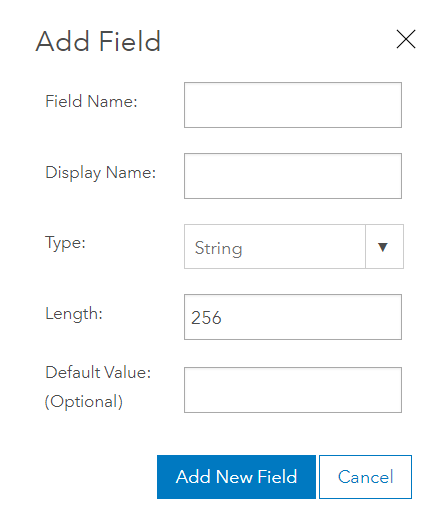
Add and configure fields
The data tab can then be used to configure the fields and provide functionality similar to creating and editing fields in ArcGIS Pro.
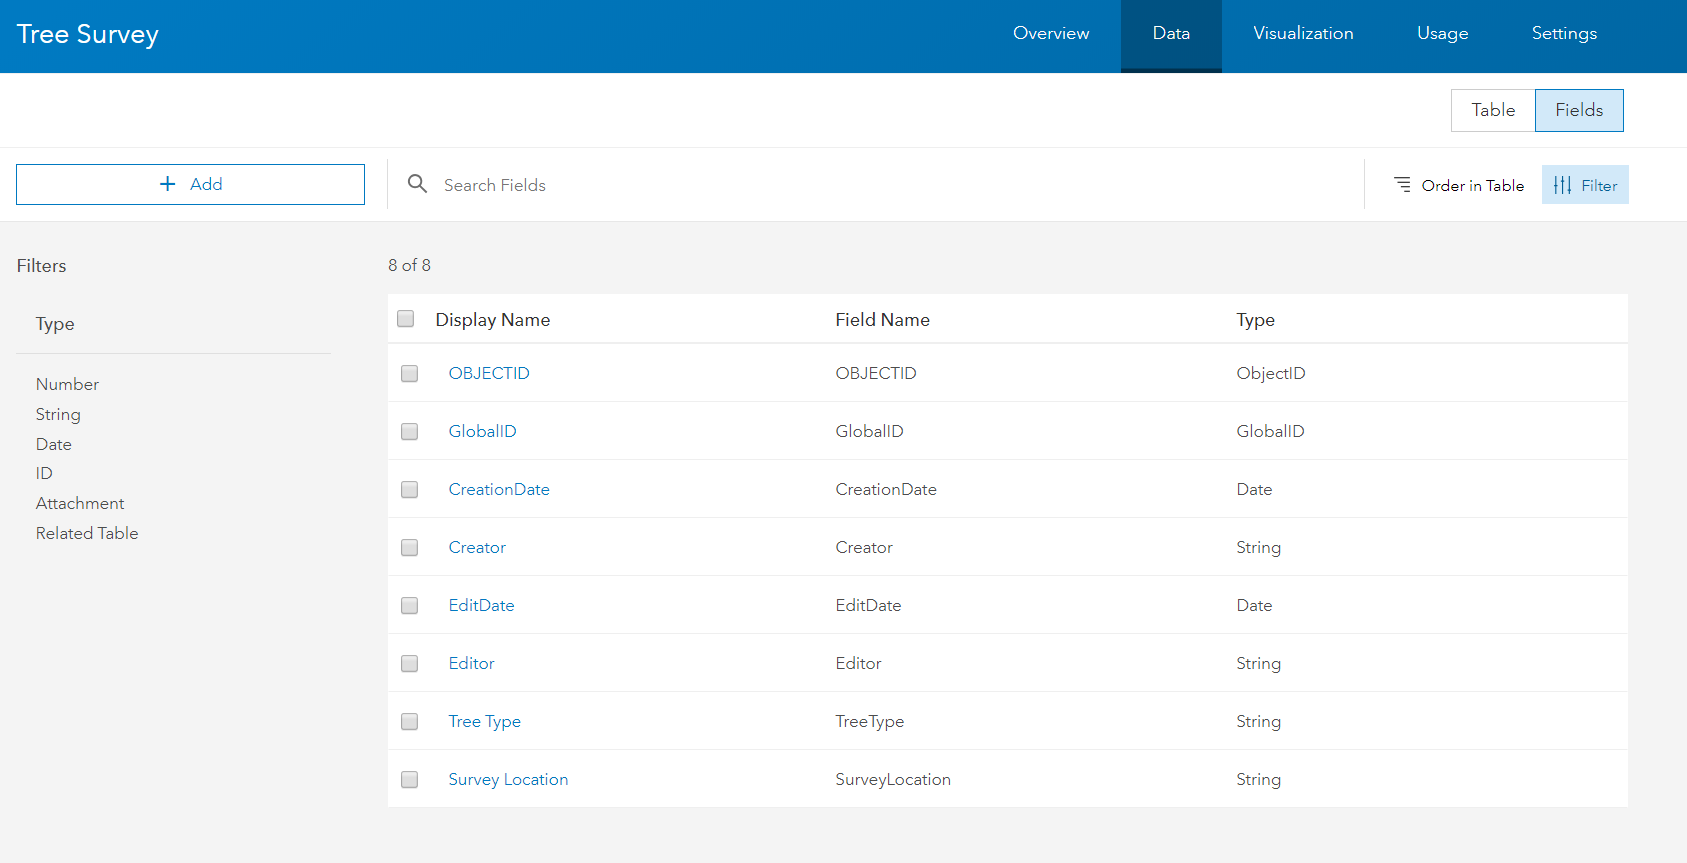
Once fields have been created, choosing a field from the table allows the user to edit or change the name if needed.
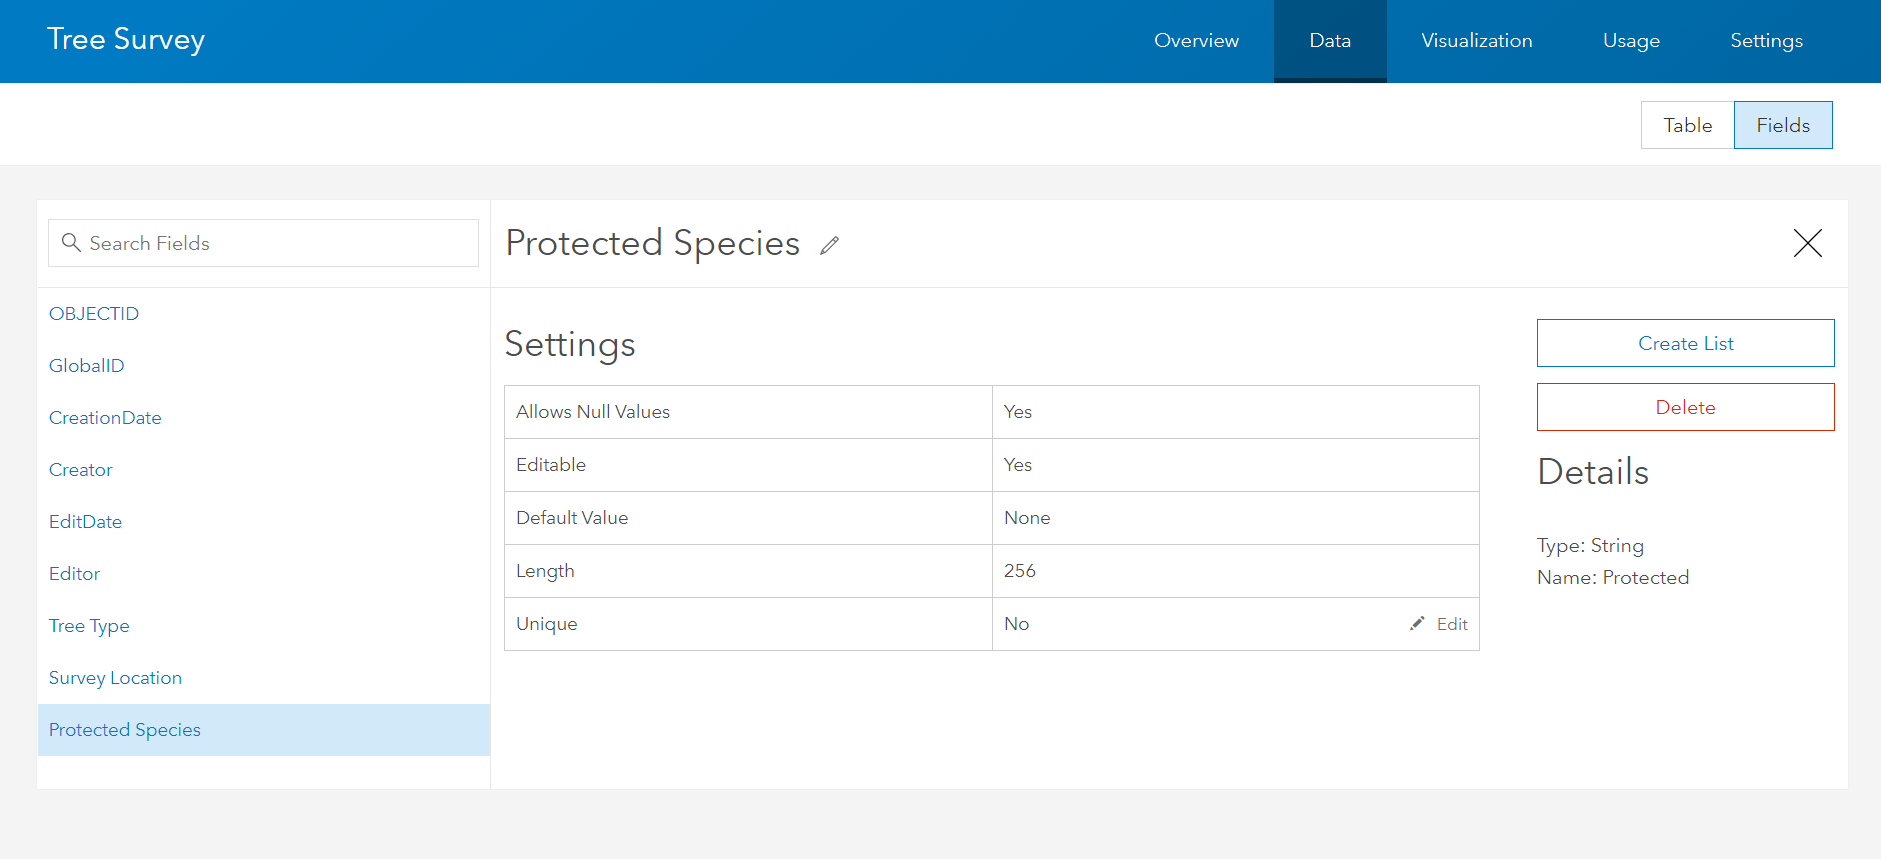
Attribute Lists (aka domains)
To improve data quality, you can provide editors with a list of categories or a range of acceptable values for fields in your hosted feature layers. Many of us know these as domains, but they are called attribute lists within the fields view of ArcGIS Online.
Setting up an attribute list is just as simple as adding the feature service itself. Once a field has been selected within the data tab, the ability to create a list is available through the create list button to the right of the page.
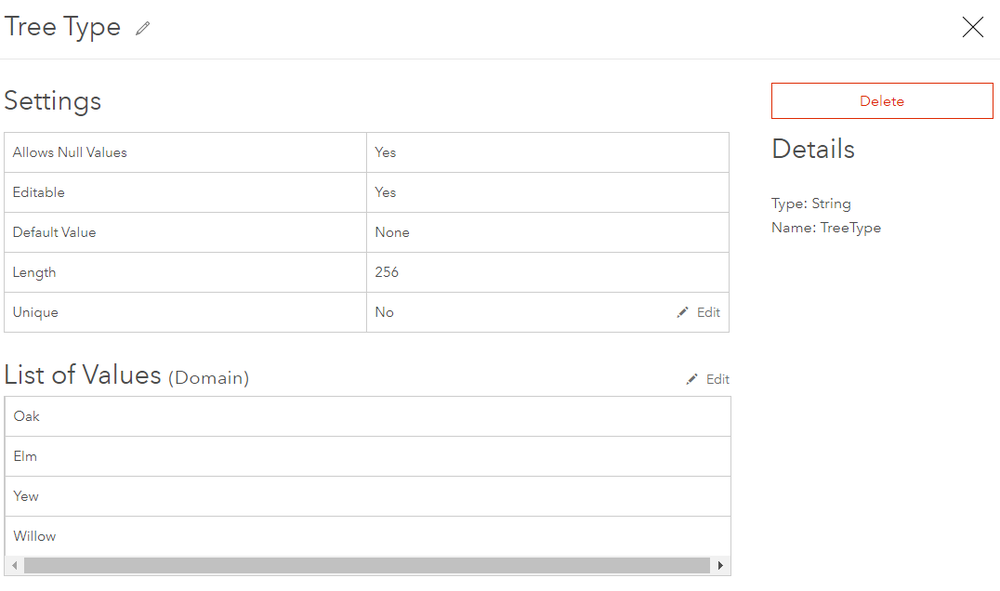
The Label for the list value is what the user sees in the attribute table or popup and the Code refers to the value stored within ArcGIS Online. For numeric datasets a minimum and maximum value can be inserted, to restrict the values that a user can input.

Note – if you have already started data collection before deciding to use an attribute list there is an option to Generate Lists - this will populate the list with the current unique values from the field.
For more help with setting up attribute lists a walk-through has been provided here.
Putting the new layer to use
Having set up my tree survey feature layer with an attribute list the data editors will get a more streamlined workflow when inputting new data points and I know that the tree type values will exactly match my predefined list:
