In January the Ordnance Survey released OS Zoomstack, making the mapping dataset available as an open data product. I wanted to walk you through how easy it is to view and style it in ArcGIS Pro.
What is OS Open Zoomstack?
OS Open Zoomstack is a comprehensive vector map of Great Britain, providing local and national coverage of roads, building footprints, greenspaces and more. It has been designed to improve accessibility to OS data for a number of GIS applications. The data is available in Geopackage format (.gpkg), which can be loaded straight into ArcGIS Pro.
Reading the data into ArcGIS Pro
The first thing I did, after downloading the geopackage, was add it as a database connection via ArcGIS Pro’s Catalog pane. To do this, you can simply right click on the Databases folder, and Add Database.
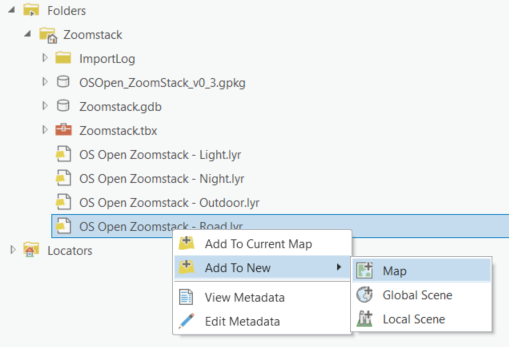
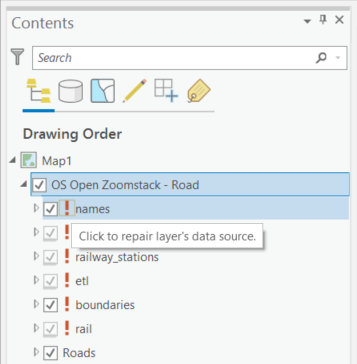
By expanding the .gpkg, I then started to drag the data directly onto a map. Simple and straightforward, right? At this point I decided to copy the data into my default file geodatabase as it gave much more control over the data. It also makes things a bit easier, as you will see later.
Styling OS Open Zoomstack
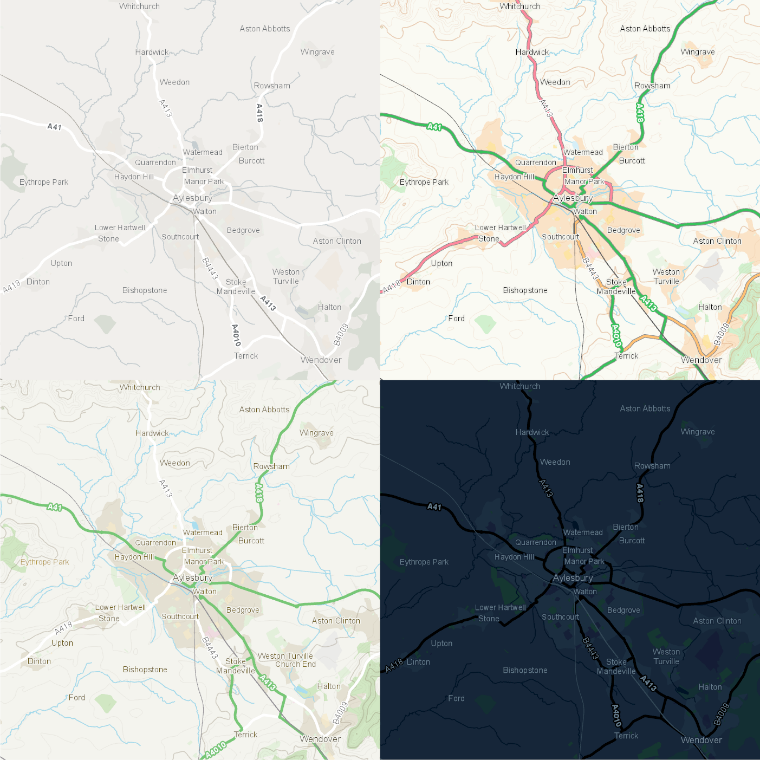
As OS Open Zoomstack offers national coverage, it is important to consider styling the data so things appear at the right scales and with appropriate symbology. Luckily, the Ordnance Survey have ESRI ready stylesheets on hand, designed to make cartographic customisation fast and easy.