The 3D scenes in ArcGIS Pro can be very helpful when giving a presentation, or when you must explain trends in your data. The problem can be that not everybody has had the time to practice with the 3D tools. This blog is designed to give you a start and help you get underway. It can also be fun.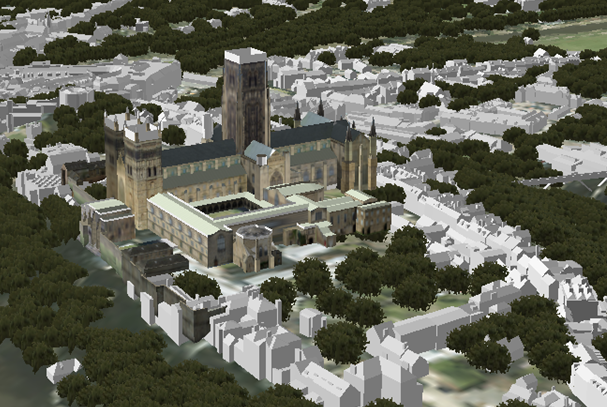
Locked down as we all are, I was working from home on some 3D data and my wife looked over my shoulder and said, “You’re playing games, again aren’t you?” but I wasn’t honest.
Navigation
Navigating around a 3D scene may take a bit of practise, but the easy way is to use the mouse wheel. Hold it down and push the mouse away from you or towards you to tip and tilt the scene form the horizontal to vertical. Hold the wheel down and move left or right to rotate, wind the wheel in and out to zoom.
There are also Navigator controls in the lower left corner of a view that provides many more camera and navigation operations. These can be very useful for navigating through challenging content, particularly 3D data that is underground. However, they will take a bit of getting used to.
Simple 3D display
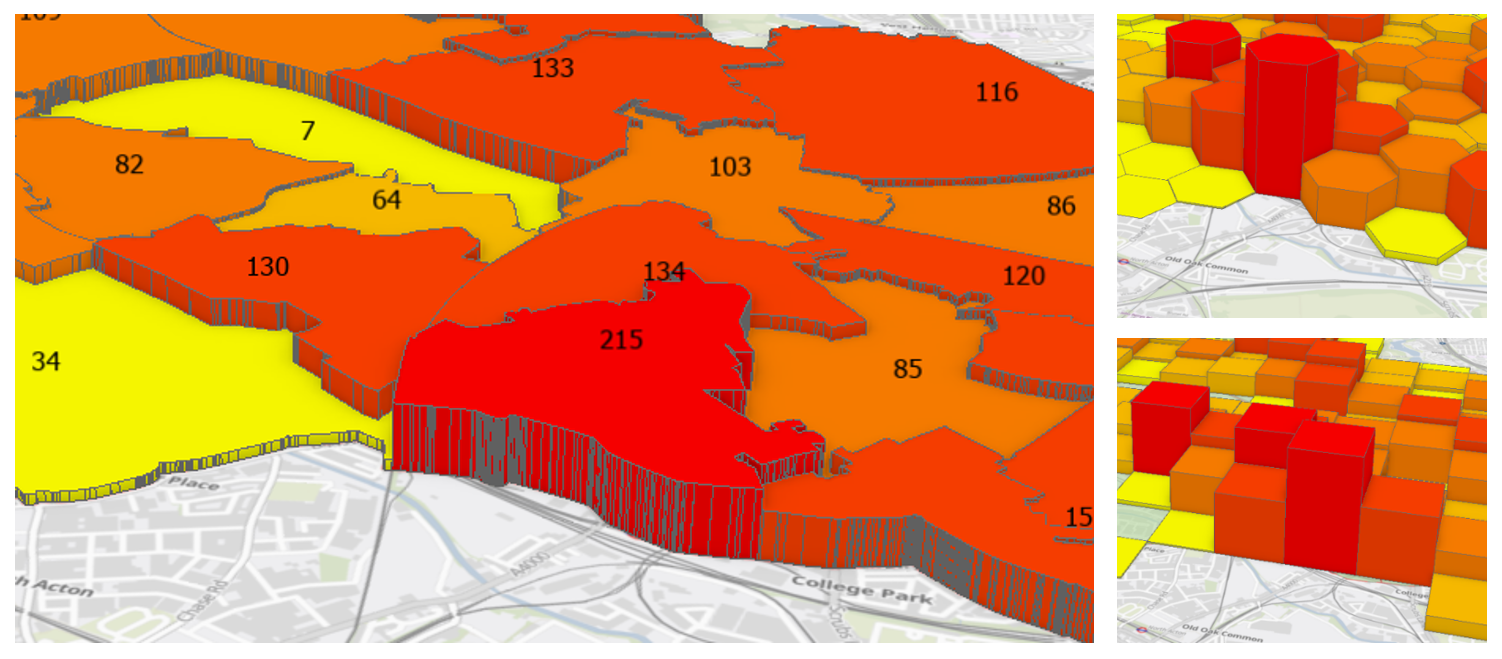
There are times when a simple 3D representation of polygon boundary data can reveal aspects of demographic data and highlight them in a clear and easy to understand presentation.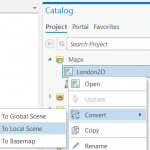
If you have used Select by Location in a 2D map you can very easily convert this into a 3D scene. By simply expanding the Maps folder in the Catalog pane, right click on your map, choose Convert and then To Local Scene.
Displaying more complex data
Extruding 2D building polygons in a scene is like stretching the polygons upwards by a value in the attribute table. The tools to do this are in the Extrusion Group in the Appearance ribbon. This will result in blocked, flat topped shapes, but it does provide a very quick cityscape representation. The polygons can be individually selected and edited. They can also be deleted and replaced with a 3D model.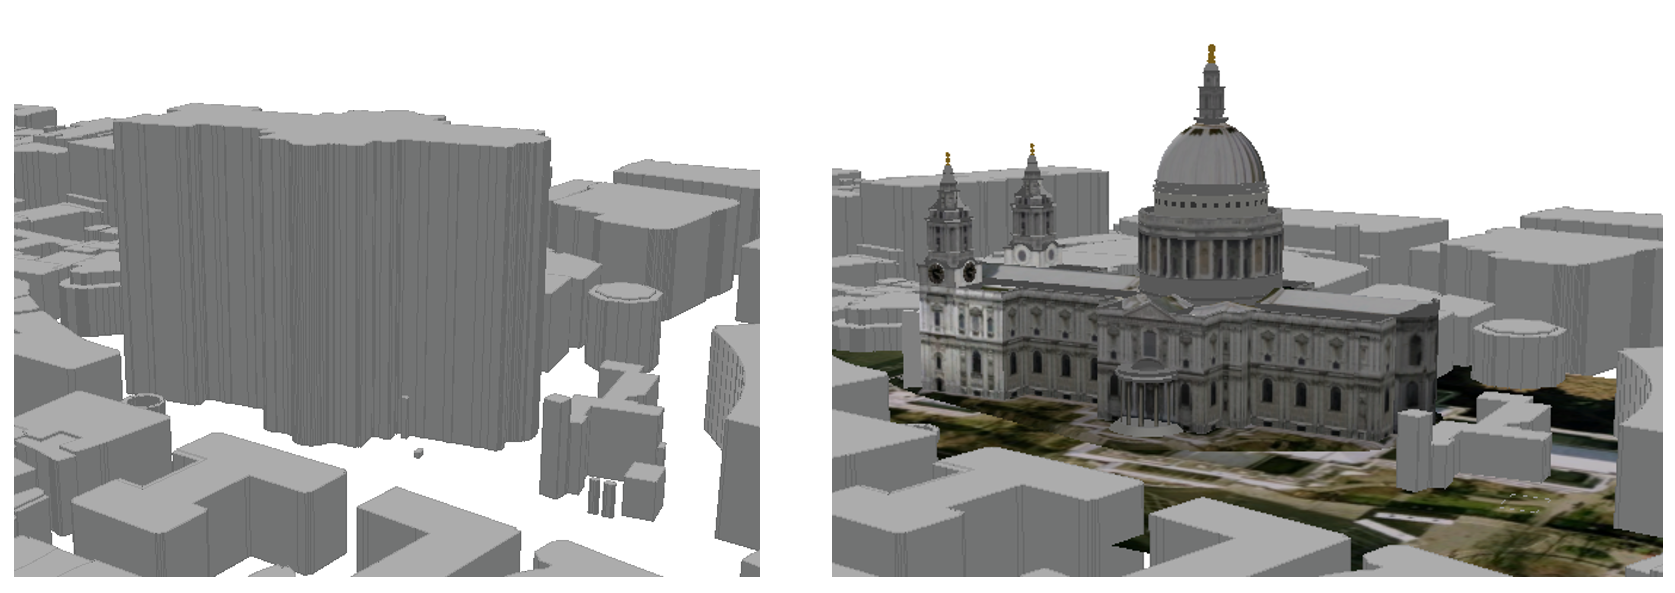
Ready-made building models can be downloaded from the internet in several different file formats and most of them are geo-referenced, so they just switch on in the correct place.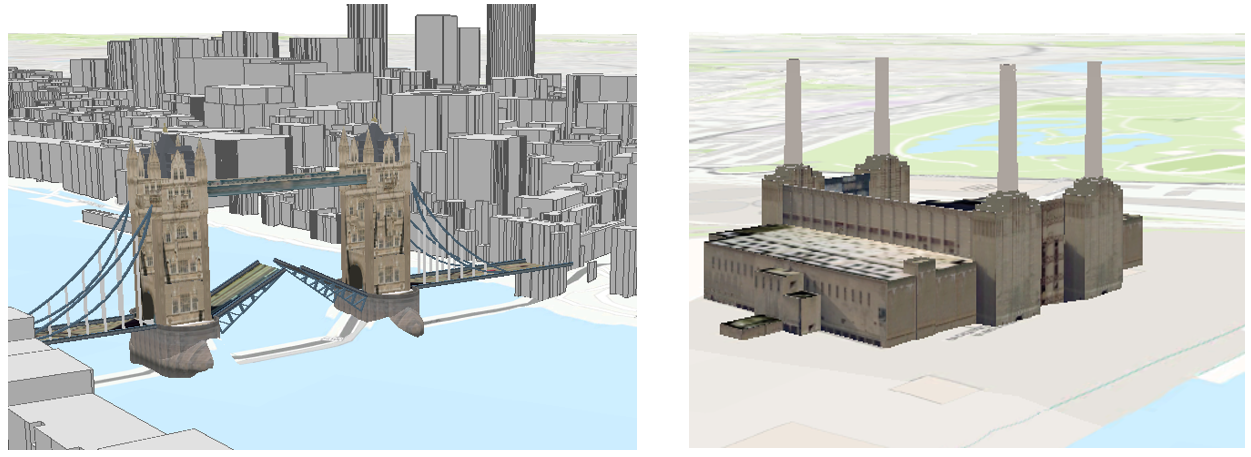
3D symbols (Presets)
Adding realistic symbols to a scene will make your presentation even more believable. 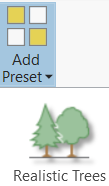 Using the Preset symbols can be a very quick way of doing this. These preset symbols are for the more common types of data, like trees. From the Map tab, in the Layer group, drop down Add Preset and click Realistic Trees. In the Add data pane browse and select your trees point feature class and select the species you want to represent.
Use 3D symbols (All Styles)
Sometimes finding and selecting the regular symbols you need and then displaying them realistically can be a bit frustrating, so here are a few pointers to get you started.
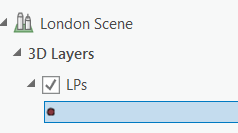 First make sure that the point feature class is in the 3D layer section in the contents pane, if it’s not, drag it from the 2D section to the 3D Then double click on the symbol to open the symbology pane.
In the Project Styles drop down there is a list of All Styles, these include Street furniture like lamp posts for example. There are also symbols style sets for the Police, Food, Trees, Electrical, Fire and more.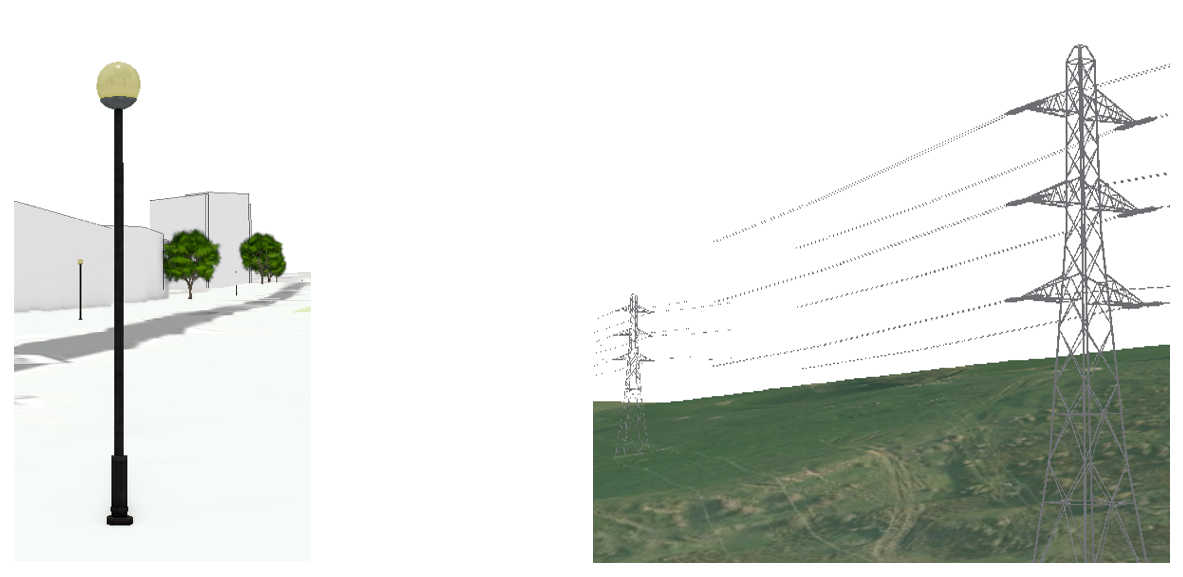
To get the symbols to display at a realistic size relative to the other data in the scene open the Layer Properties and in the Display section, tick on Display 3D symbols in real-world units.
Exploratory 3D Analysis
Arc Pro now provides some very powerful interactive exploratory analysis tools. these include the Viewshed tool that can give you an indication of the light cast from a lamp post and even give you the shadow from preset tree symbol.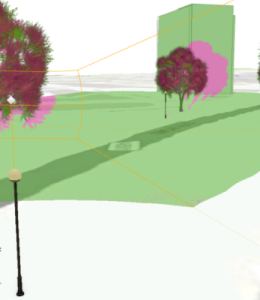
Using these tools, you can investigate your data by creating graphics in real time. You can then change the parameters, the height, position of the lamp post and see the difference these changes will make in the real world.
Other Interactive analysis tools include: Cut and Fill, Elevation Profiles, Object Detection, Line of Sight, Slice and View Domes.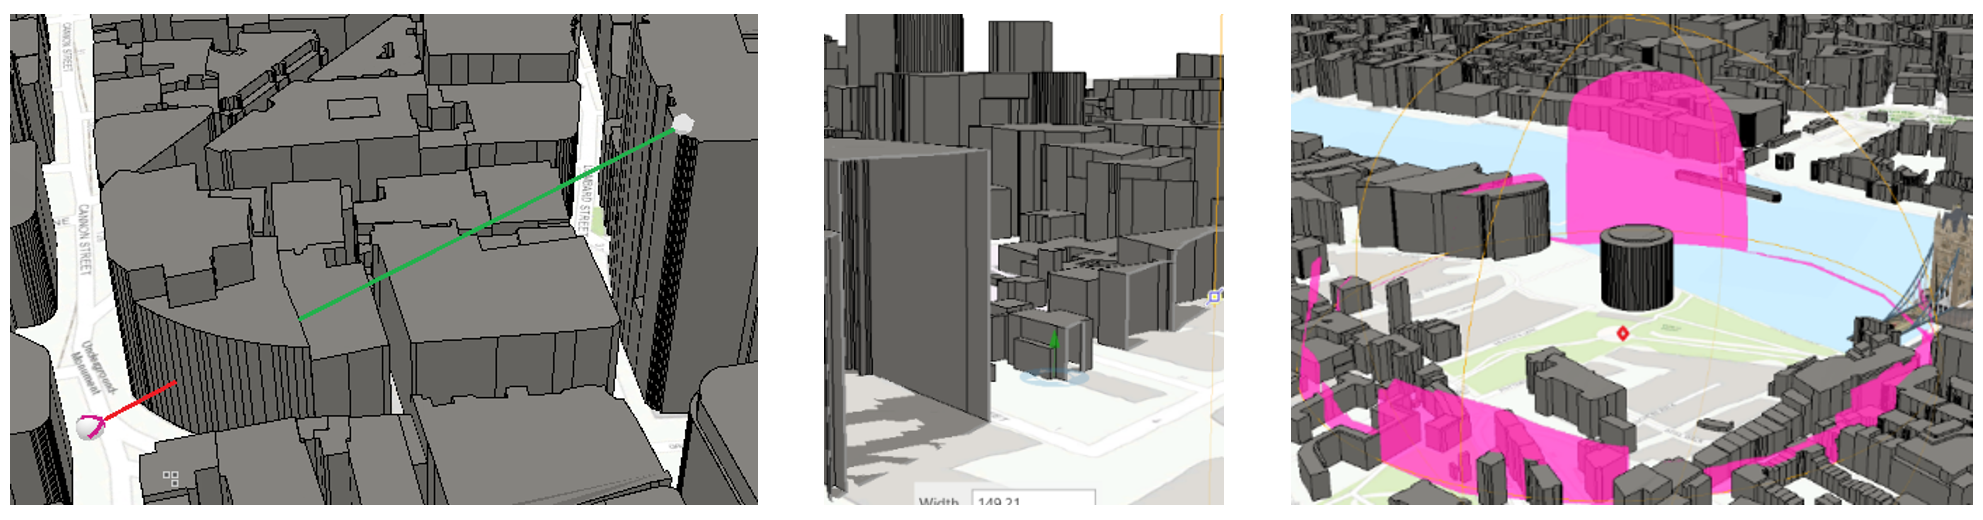
These tools will take a bit of time to master but, like I said at the start, it’s fun.
I hope this has been a useful taster for working with a Local Scene in ArcGIS Pro. If you are interested in learning more, I have developed a one-day training course that will be available shortly.
Take care, stay safe.