With the retirement of Markr coming ever closer, you may be wondering “how can I add watermarks to my map?”. The answer is simple: all you need is an awesome logo in SVG format, a coverage layer in the coordinate system you want to use and ArcGIS Pro. There is a great YouTube video available by Esri’s John Nelson which showcases How to Make a QR Code Watermark Tile Layer for ArcGIS Online. I wanted to try this for myself to see how I could make a BNG (British National Grid) watermarked basemap. Read on to find out more…
How to get started…
I highly recommend watching the video in full and then re-watching it as you complete the steps. The part we are interested in is from 44 seconds unless you want to learn how to create a QR code. Before you start working through the instructions from John Nelson, make you have the following ready to go:
- A logo or any image including a QR code saved as an SVG. Ideally the image without a background, I found this much easier to work with plus it looked better.
- A basemap in BNG, this can come from ArcGIS Online or Living Atlas.
- A polygon of your area. This needs to be a local copy and in the correct projection system (the one you want to use/your basemap is in).
Like John I used the spacing of a logo per tile so had the X and Y step set to 192 pt. One thing I found useful was setting the clipping to Do not clip to ensure you get a full logo. I found that there was a little trial and error to perfect the logo and basemap, so keep applying the changes until you are happy. Make sure you zoom in and out to see what it looks like at the larger and the smaller scales!
Using your watermark layer…
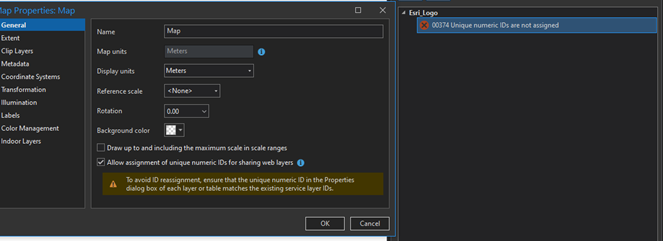
If you are creating your own basemap, you can bake the layer into the basemap when you tile it. Alternatively, you can tile the layer on its own so you can add it to any BNG basemap (full demo of this is in the video at 3:14). When thinking about a tiling scheme, you can use one you already have or there is an option for auto-suggest which works brilliantly for BNG layers. As the layer I created was from scratch, I also had to assign the Unique numeric IDs. This can be done at the Analyze stage of publishing. Click on the error and tick on the option to assign the IDs.
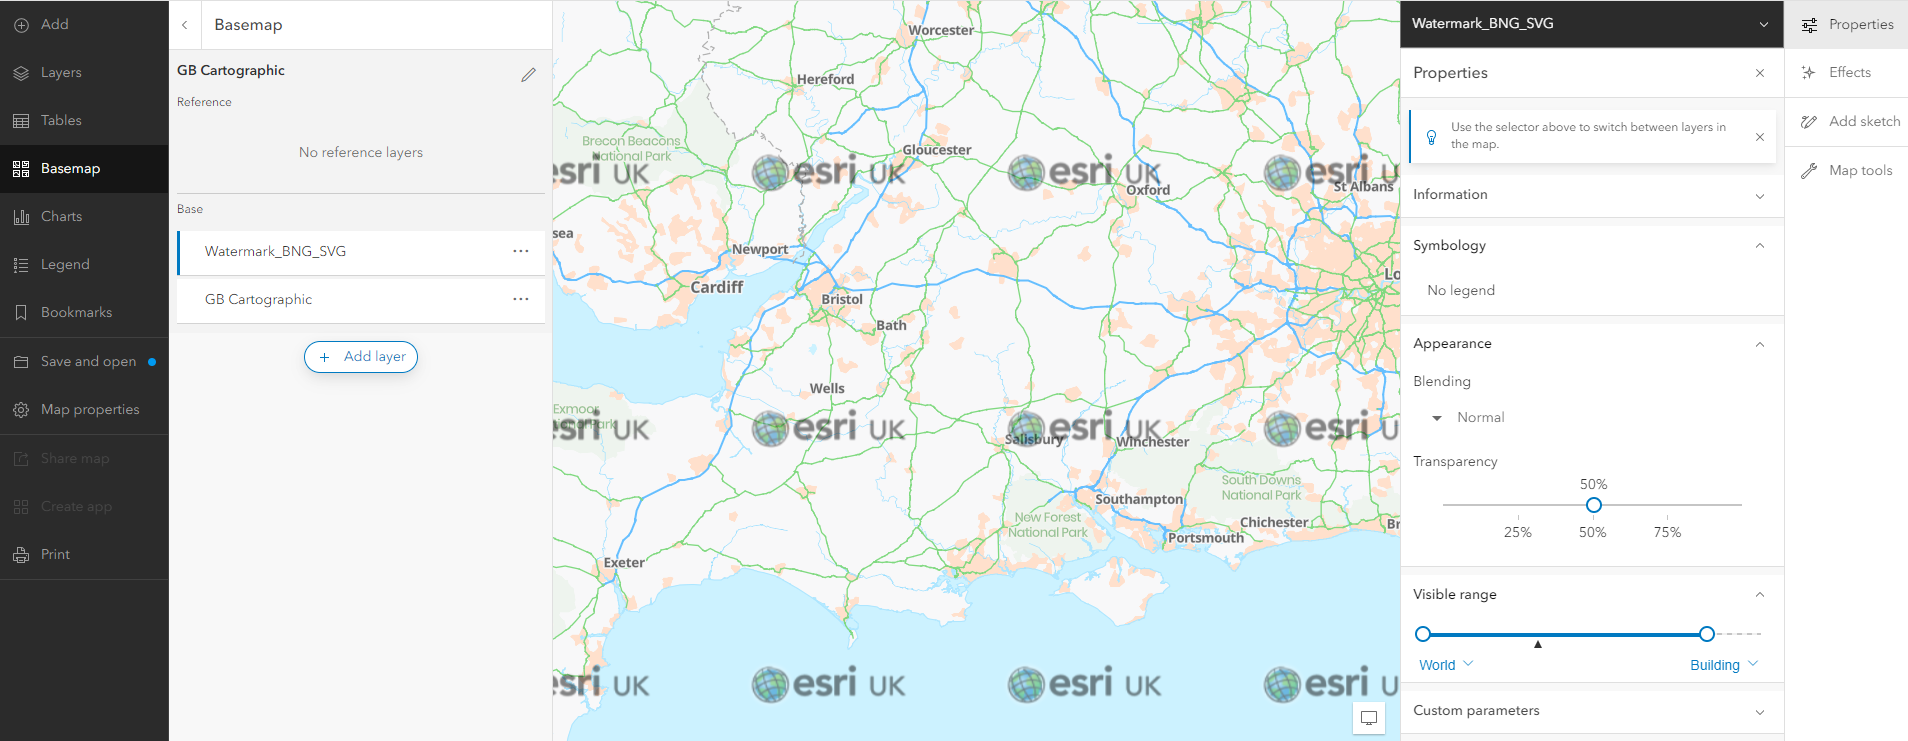
Once the layer is published go to the Map Viewer and select the basemap you want to use – I selected GB Cartographic. Then on the basemap option, add a layer and add your logo layer. In this you can highlight the newly added layer and change its properties, such as transparency, blending or visible range. For our basemap, I changed the transparency as this works in all browsers and even in the Map Viewer Classic.
There are many options and effects to choose from so play around with what works best for your basemap. Once you are happy, save your changes. You are now ready to share this watermarked basemap with others or add it to your organisation’s basemap gallery. Remember to change the basemap name if you want it to sound fancy!
I hope you loved the video as much as I did and enjoyed our take on creating a watermark for our BNG basemaps. Why not have a go at creating your own watermarks for your basemaps?
Happy basemapping!